7 Tips for Choosing the Right Oven Gasket

Choosing the right Oven Gasket can protect your oven’s heat, energy use, and cooking consistency. A worn seal may leave dark gaps around the door. You might also notice longer preheating times, uneven browning, or a warm kitchen during baking.

This guide introduces seven practical tips for selecting a suitable replacement. It considers oven model numbers, gasket shape, material quality, temperature resistance, and installation methods. A gasket should fit the door channel without stretching, bunching, or leaving loose corners. Small details matter. Even a few millimeters can affect the seal.

Experienced appliance technicians usually recommend checking the manufacturer’s specifications before purchasing. A product photograph can look convincing, but appearance alone proves little. Measure the old gasket, inspect its clips or mounting pins, and compare the cross-section carefully. Some ovens use a flexible woven seal, while others require a molded rubber design.

Safety also deserves attention. A damaged gasket can allow heat to escape and may stress the oven’s heating system. It should never be treated as a decorative accessory. Still, replacement is not always the first answer. A dirty channel, bent door, or damaged hinge may create similar symptoms. I have seen users replace a gasket unnecessarily because they skipped this inspection.

The following tips aim to make the choice clearer and less wasteful. They cannot replace the oven manual or qualified service advice. When the fit remains uncertain, pause before ordering. The cheapest option may become the most expensive mistake.
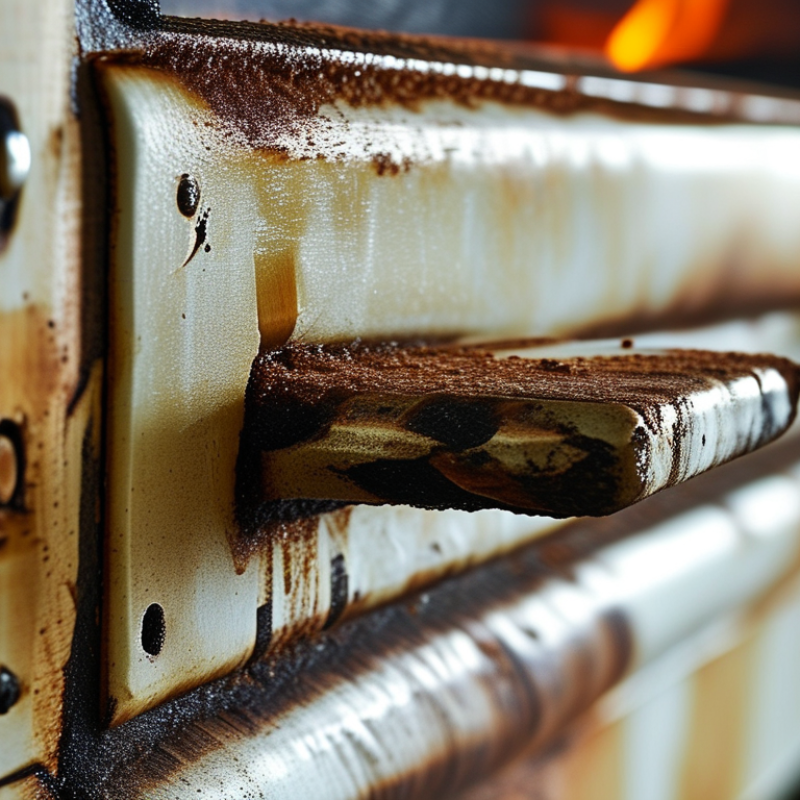
7 Tips for Choosing the Right Oven Gasket

Identify Your Oven’s Gasket Type and Model Compatibility

Choosing the right oven gasket begins with identifying the exact sealing system, not guessing from appearance.

In repair work, I first inspect the old gasket while the oven is cold. Check whether it is a door-mounted seal, cavity-mounted seal, or a removable channel type. Measure its length, width, thickness, and corner shape. Small differences matter.

Read the oven’s model plate carefully. Record every letter and number, including suffixes. Search the model in the manufacturer’s parts documentation, not only a general marketplace listing. Compare the replacement gasket’s profile with the old one. Round, flat, woven, and high-temperature silicone designs are not automatically interchangeable. Check the attachment method too. Some seals use clips, while others slide into a groove. Never force a mismatch.

Review the gasket’s temperature rating and material suitability. A seal that looks correct may soften, shrink, or release fibers during heating. I once trusted a similar-looking gasket and missed a different corner design. The door closed badly. That mistake was avoidable. Inspect the hinges and door frame before ordering, because a damaged frame can mimic gasket failure. After installation, check for even contact using a thin strip of paper. It should resist gently around the entire door. If one area feels loose, reposition the gasket before testing heat. When model information remains unclear, consult a qualified appliance technician with the measurements and photographs.

Measure the Gasket Correctly Before Making a Purchase

7 Tips for Choosing the Right Oven Gasket

Measure the gasket correctly before making a purchase. Remove the old seal and place it on a flat table. Record its overall length, width, thickness, and corner shape. Measure from the center of each mounting point. Do not rely on the oven model alone. Small variations can prevent a tight closure. Check whether the gasket uses clips, hooks, screws, or a channel fit. Photograph each corner before removal. It helps when memory fails. It happens.

The U.S. Department of Energy’s appliance guidance identifies door sealing as an important factor in retaining cooking heat. The NFPA Home Cooking Fires report states that cooking equipment caused about 167,800 home structure fires annually from 2017 to 2021. A worn gasket cannot cause every cooking hazard, but it can allow heat and steam to escape.

Inspect the door after installation. A sheet of paper should grip lightly when placed between the seal and frame. Repeat the test around all four sides. Also compare the replacement material with IEC 60335-2-6 safety requirements for household cooking appliances. That standard does not replace correct sizing.

I have seen careful buyers measure the length correctly, then overlook corner depth. That mistake is easy to make. Avoid stretching the gasket during installation. Let it rest at room temperature first, because compressed rubber may not show its true shape. A perfect fit on paper can still fail when installed.

Compare Heat Resistance, Materials, and Construction Quality

7 Tips for Choosing the Right Oven Gasket

Compare Heat Resistance, Materials, and Construction Quality

A reliable oven gasket should match the appliance’s actual temperature range, not a vague “high-heat” label. Silicone usually handles repeated heat well, while fiberglass can tolerate extreme temperatures but may fray at the edges. EPDM is flexible, yet it is often unsuitable for very hot oven zones. Check the technical datasheet for continuous-use temperature, compression set, and chemical resistance. One impressive peak-temperature figure is not enough.

Tip 1: Measure the old gasket carefully. Tip 2: Compare continuous heat ratings. A gasket that hardens becomes a heat leak. The U.S. Department of Energy identifies cooking equipment as a significant household energy user, so poor sealing can increase heat loss and cooking time. The exact saving varies widely. Real kitchens are rarely laboratory conditions.

Construction quality deserves equal attention. Look for dense braiding, even stitching, secure corners, and a firm mounting system. A thin gasket may look neat but collapse after repeated compression. NFPA’s Home Cooking Fires report recorded an average of 158,400 residential cooking fires annually from 2016 to 2020. This does not prove that gaskets caused those fires, but it supports careful maintenance around heat-producing appliances. Inspect for brittle fibers, gaps, flattened sections, or scorching. Tip 3: Replace damaged seals early. Tip 4: Press the door gently and check for uneven resistance. I have found visual checks useful, though they can miss internal deterioration. When uncertain, compare the material certificate and installation instructions, rather than relying only on appearance.

7 Tips for Choosing the Right Oven Gasket - Compare Heat Resistance, Materials, and Construction Quality

Tip What to Compare Common Material or Construction Typical Temperature Capability Quality Indicator Selection Guidance
1 Check the required heat resistance High-temperature silicone, fiberglass-reinforced silicone, or ceramic-fiber rope Silicone: approximately 200–250°C; ceramic fiber: commonly above 1,000°C The continuous-use rating exceeds the oven’s normal operating temperature Choose a gasket with a documented continuous rating, not only a short-term peak rating.
2 Match the material to the oven environment Silicone rubber, EPDM, FKM, PTFE, or ceramic fiber EPDM: about 150°C; FKM: about 200°C; PTFE: about 260°C continuous service The material is compatible with heat, steam, grease, cleaning chemicals, and food contact requirements For general oven doors, silicone is often suitable; select specialty materials for steam, chemical exposure, or extreme heat.
3 Evaluate the reinforcement and construction Solid molded profile, braided sleeve, knitted rope, or fabric-reinforced extrusion Depends on the elastomer, reinforcement fiber, and bonding method Consistent wall thickness, secure stitching or braiding, and no exposed loose fibers Use reinforced designs where the seal must resist stretching, compression, abrasion, or repeated door movement.
4 Verify the profile and dimensions Round rope, D-profile, bulb seal, channel seal, or multi-lip profile Temperature performance is affected by compression and profile geometry Width, height, slot size, corner radius, and mounting method match the installation channel Measure the original gasket and channel before ordering; an incorrect profile can leak even when the material is suitable.
5 Compare compression and recovery Closed-cell silicone sponge, solid silicone, or braided ceramic-fiber rope Typical working compression is often around 20–40%, depending on profile and design The gasket compresses evenly and returns close to its original shape after repeated cycles Avoid excessive compression, which can prevent proper door closure and accelerate permanent deformation.
6 Assess sealing performance and leakage risk Single-lip, dual-lip, hollow bulb, or braided flexible seal Performance depends on contact pressure, alignment, and material stability Continuous contact around the full perimeter without gaps, twists, or flattened corners For energy retention, prioritize a uniform seal line and a profile designed for the door’s closing force.
7 Confirm durability, safety, and maintenance needs Food-contact silicone, washable closed-cell sponge, or abrasion-resistant reinforced gasket Service life varies with temperature cycling, cleaning chemicals, compression, and installation quality Low odor, smooth cleanable surface, stable dimensions, and resistance to cracking or hardening Request material documentation when required and inspect the gasket regularly for cracks, brittleness, gaps, or discoloration.

Note: Temperature ranges are typical material guidelines and can vary by formulation, profile design, exposure time, compression, and installation conditions. Always verify the supplier’s technical data for the specific gasket.

Choose the Right Installation Method for Your Oven Design

7 Tips for Choosing the Right Oven Gasket

Choose the Right Installation Method for Your Oven Design

The gasket must match the oven’s construction, not just its dimensions. Measure the channel width, door edge, corner radius, and mounting depth before ordering. A slip-in gasket suits ovens with a clear retaining groove. A staple-mounted design needs evenly spaced fasteners. Some doors use screws or clips instead. Never force a gasket into a narrow channel. It may flatten and leak heat.

Inspect the old gasket carefully. Look for melted fibers, loose corners, brittle sections, or dark heat marks. These details often reveal the correct installation method. Check the seal’s orientation, too. The softer side usually faces the door gap, while the reinforced edge sits in the channel. Keep the gasket slightly relaxed at the corners. Stretching it can create gaps later. Small errors matter.

Clean the mounting surface with a dry brush before fitting the new seal. Avoid sharp tools that can scratch the frame. Press each section firmly, but do not hammer the material. For a screw-mounted design, tighten fasteners evenly. An uneven door can crush one side and leave the opposite side open. After installation, close the door on a sheet of paper. It should resist gently across the full seal. I once assumed a loose hinge caused leakage, but the real problem was a twisted corner. That mistake changed how I inspect every oven gasket.

Evaluate Durability, Maintenance Needs, and Overall Value

7 Tips for Choosing the Right Oven Gasket

A gasket should match the oven’s heat range, groove profile, and door design. Measure the old seal carefully. A few millimeters can cause uneven compression and early failure. Look for heat-resistant materials with stable elasticity. According to the U.S. Energy Information Administration’s 2020 Residential Energy Consumption Survey, cooking represents a measurable share of household energy use. A damaged seal can waste heat during every baking cycle.

Durability is only useful when maintenance remains practical. Choose a gasket that can be removed without special tools. Inspect corners, clips, and stitching for weak points. Clean grease with a mild detergent, not abrasive chemicals. The U.S. Environmental Protection Agency reports that ENERGY STAR commercial ovens can use about 20% less energy than standard models. A properly compressed gasket supports that efficiency, although results depend on oven age and operating habits. That detail is easy to overlook.

I once assumed the thickest gasket would last longest. It did not. Excessive thickness made the door close unevenly. Check the manufacturer’s temperature specification, but do not rely on appearance alone. Compare replacement cost, expected service life, installation time, and energy loss. ASTM material data can help verify temperature resistance and compression recovery. Still, laboratory results are not kitchen reality. Frequent opening, harsh cleaning, and misaligned hinges can shorten any gasket’s life. Choose value, not simply the lowest price. A simple paper-strip test can reveal poor sealing after installation.

7 Tips for Choosing the Right Oven Gasket

Compare the practical importance of durability, maintenance, fit, and long-term value when selecting an oven gasket. Scores use a normalized 0–10 scale based on common commercial oven operating and maintenance priorities, without reference to any brand.

A higher score indicates that the criterion generally has a greater effect on gasket performance, service life, and ownership cost. Proper sizing and temperature compatibility should always be verified against the oven manufacturer’s specifications.

Article Source:

Contact Us Today for a Free Quote

(800) 708-6036