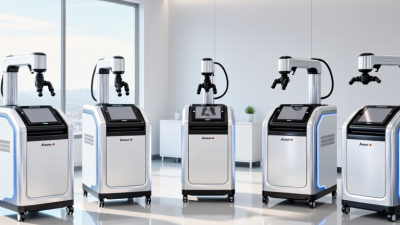
Choosing a laser marking machine can help a business add clear, consistent identification to products, parts, and packaging. Unlike labels that may peel or fade, laser marks are created directly on a material’s surface. The result can support traceability, branding, and routine quality checks. Small details matter.
The right system depends on what you make. Fiber lasers are commonly considered for many metals, while CO2 systems may suit selected nonmetal materials. Compatibility still varies by material and finish, so test representative samples before buying. A crisp mark on a stainless-steel component may look different from one on coated aluminum or plastic. Check the required mark size, production speed, software, and workspace before comparing prices.
There is no single machine that fits every operation. Consider the full cost, including installation, maintenance, operator training, and any suitable ventilation or safety equipment. Ask suppliers for written specifications and a live sample test using your actual parts. Those steps make comparisons more reliable than relying on a brochure alone. Even a capable system can disappoint if setup, focus, or material settings are wrong. A laser marking machine may be a strong investment when its capabilities match real production needs, but careful evaluation comes first.
Why Choose a Laser Marking Machine for Your Business?
What a Laser Marking Machine Does
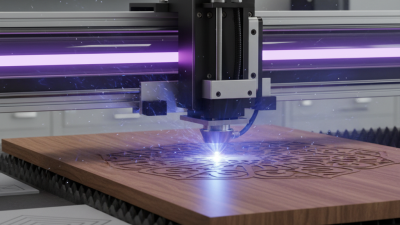
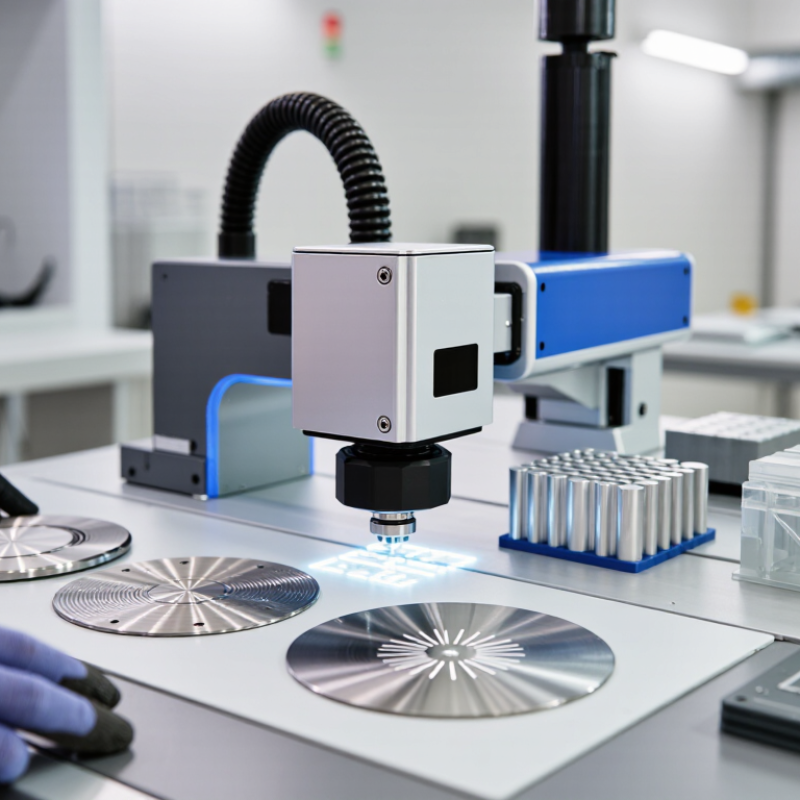
A laser marking machine uses a focused beam of light to alter a material’s surface. Depending on the material, it may remove a thin layer, change the color, or create a shallow engraved mark. This process produces text, serial numbers, barcodes, logos, and small symbols with precise edges. The mark can remain readable after handling, cleaning, and normal workplace use.
No ink is required. That reduces contact with liquid supplies and removes drying time from many production steps. Operators can adjust power, speed, frequency, and focus for different surfaces. Metal, coated parts, plastics, wood, glass, and selected ceramics may require very different settings. A setting that works beautifully on aluminum may discolor plastic or damage a coating.
It is not magic.
Good results depend on testing. I would inspect the material, run sample marks, and check contrast under real lighting before production. A readable code should still scan after rubbing and cleaning. Ventilation and protective controls matter, especially when marking coated or treated materials. Poor setup can create smoke, weak contrast, or excessive heat. Keeping test records also helps operators repeat reliable results instead of guessing during a busy shift.
A laser marking machine changes a material’s surface with a focused beam of light. The result depends on the material, coating, and selected settings. Small changes in speed or power can alter contrast, depth, and edge quality. Test a sample first.
On stainless steel, marking may create a dark contrast without cutting deeply into the surface. Aluminum can show a clear mark, especially when its finish is suited to the process. Plastics vary more: some develop a crisp, pale mark, while others may melt or discolor under excess heat. Go slowly with settings. A small test grid can reveal which combination gives readable text without rough edges.
Glass usually takes on a frosted appearance where the beam touches it. Wood may darken, with softer fibers producing less uniform results than dense, smooth surfaces. These differences matter for barcodes, logos, or tiny serial numbers. Focus, cleaning, and material consistency all affect legibility. In practice, the first pass is not always the best one; even a familiar material can behave differently across batches. Record settings and inspect marks under ordinary shop lighting before choosing a production setup.
| Material | Common Laser Type | Typical Marking Effect | Example Uses | Practical Considerations |
|---|---|---|---|---|
| Stainless steel | Fiber; UV for selected applications | Dark annealed marks, or lighter engraved marks depending on settings and surface finish | Serial numbers, product identification, traceability codes | Annealing can create a contrasting mark with limited material removal. Results vary with alloy, finish, and process settings. |
| Anodized aluminum | Fiber; CO₂ may remove the anodized layer in some applications | High-contrast light marks where the colored anodized coating is removed | Control panels, nameplates, equipment labels | Mark appearance depends on coating color, thickness, and laser parameters. Test the specific coated part before production. |
| Bare aluminum | Fiber | Surface engraving or a contrasting mark, depending on the alloy and settings | Tools, components, identification plates | Bare aluminum can be reflective. The required mark contrast may need process testing or a surface treatment. |
| Engineering plastics | UV; fiber for compatible plastics | Color change, foaming, or surface contrast, depending on the polymer and additives | Connectors, housings, buttons, molded parts | Plastic response varies widely by formulation. Confirm material compatibility and use suitable fume extraction. |
| Glass | CO₂; UV for selected applications | Frosted or matte surface marking | Glassware, laboratory items, decorative panels | Glass composition and geometry affect results. Controlled settings help reduce unwanted cracking or chipping. |
| Wood | CO₂ | Darkened engraving or surface marking | Signs, packaging, craft and product personalization | Grain, resin content, moisture, and finish influence color and depth. Extraction is important when processing wood. |
| Ceramics | Fiber or CO₂, depending on the ceramic and any coating | Surface contrast, coating removal, or engraving on suitable materials | Technical components, tiles, ceramic labels | Uncoated ceramics can be difficult to mark consistently. Test for contrast, surface damage, and required durability. |
How laser marking works: A focused laser beam changes a material’s surface through processes such as heating, oxidation, coating removal, foaming, or engraving. The best laser source and settings depend on the material, desired mark, production speed, and application requirements.
A laser marking machine can create sharp, permanent marks on metal, plastic, glass, and coated surfaces. Unlike ink-based systems, it usually needs no cartridges or drying time. This can reduce consumable costs and simplify daily maintenance. In practical production settings, consistent marking also supports product identification, batch tracking, and quality inspections. Small codes remain readable under bright factory lighting, which matters during fast inspections.
Speed is another clear advantage. A well-configured system can mark repeated parts with dependable positioning and minimal operator handling. Digital settings make it easier to change designs between product runs. This flexibility helps workshops manage custom orders without preparing new screens or labels. However, laser marking is not magic. Material testing, correct power settings, and proper ventilation still matter. A poor setup can create weak contrast, surface damage, or wasted parts.
Tips: Test several samples before full production. Check mark depth, contrast, and readability after cleaning or handling. Keep a record of tested parameters for each material. Inspect the lens and work area regularly, and train operators to follow the machine’s safety procedures. It is tempting to focus only on purchase price, but operating time, rejected parts, maintenance, and staff training often shape the real return. My own preference is to measure these factors for several weeks before making a final equipment decision.
A laser marking machine earns its place when product identity must survive handling, heat, or cleaning. In factory trials, I have seen shallow codes remain readable on metal housings after repeated wiping. The same system can mark serial numbers, batch references, dates, and Data Matrix codes. Operators can change layouts through controlled software, reducing labels and manual transcription. However, reliable marking is not automatic. Focus, power, speed, and surface finish require testing.
Automotive suppliers use lasers on engine parts, brackets, sensors, and battery enclosures. Medical manufacturers mark surgical instruments, tubing, and equipment panels with precise identification. Electronics plants add tiny codes to circuit boards, connectors, and aluminum cases. Packaging lines mark bottles, caps, cartons, and flexible films without contact. Food and beverage producers often prefer clean, ink-free coding. Material compatibility still matters. Some plastics discolor unevenly when additives vary between batches.
Aerospace and industrial equipment makers mark valves, tools, pipes, and safety-related components for long-term traceability. Jewelry and consumer goods producers create fine markings for measurements, model information, and decorative patterns. Quality teams should verify contrast with scanners, not eyesight alone. Ventilation and operator protection also deserve attention. I would not promise one machine fits every product. Samples, production speed, required depth, and maintenance access should guide the decision. A rushed trial may create attractive marks that fail months later.
Why Choose a Laser Marking Machine for Your Business?
Factors to Consider When Choosing a Laser Marking Machine
Choosing a laser marking machine starts with the material, not the machine’s advertised power. Fiber lasers suit many metal parts, while CO2 systems often handle wood, acrylic, and coated materials. Plastics require careful testing because heat can create blurred edges or unwanted discoloration.
Test the material.
Marking speed also affects production capacity. A fast machine may still perform poorly on detailed codes or curved surfaces. Ask for sample marks using your actual parts, including dark, reflective, and uneven areas. Check contrast, line sharpness, repeatability, and reading accuracy after cleaning or light abrasion.
Laser wavelength matters. So does pulse control. Higher power is not always better. It can damage thin components and increase operating costs. Consider the work area, rotary attachments, automatic focusing, and compatible design software. These features can reduce manual handling during busy shifts.
Safety deserves practical attention. Look for enclosed designs, interlocks, extraction systems, and clear operating instructions. Maintenance should be simple enough for trained staff to perform reliably. Ask about replacement lenses, filters, service access, and expected downtime.
I once underestimated fixture design. The laser was accurate, but poorly positioned parts created inconsistent marks. That mistake still matters. Calculate total ownership costs, including installation, training, electricity, maintenance, and rejected parts. A low purchase price can become expensive when production is interrupted.
Laser source selection is one of the most important factors when choosing a marking machine. Fiber lasers commonly operate at approximately 1,064 nm and are widely suited to metals and engineering plastics. CO₂ lasers typically operate at approximately 10,600 nm and are often selected for materials such as wood, glass, paper, leather, and acrylic. UV lasers commonly operate at approximately 355 nm, producing a smaller heat-affected area for fine marking on sensitive plastics, glass, and electronic components.
The wavelength values represent standard operating wavelengths for common laser-marking sources. Material compatibility, required marking detail, production speed, automation needs, maintenance, and total operating cost should also be evaluated before purchase.